Kids bored?
Or are you trying to get work done at home without them under your feet?
Or maybe just looking for some fresh things to do together?
Here is a list of 21 fun activities that are fun, cheap and easy to set up for kids to do so they’re engaged, and you can get a pile achieved or, just have a break and chill while they play.
1. Sensory Foam
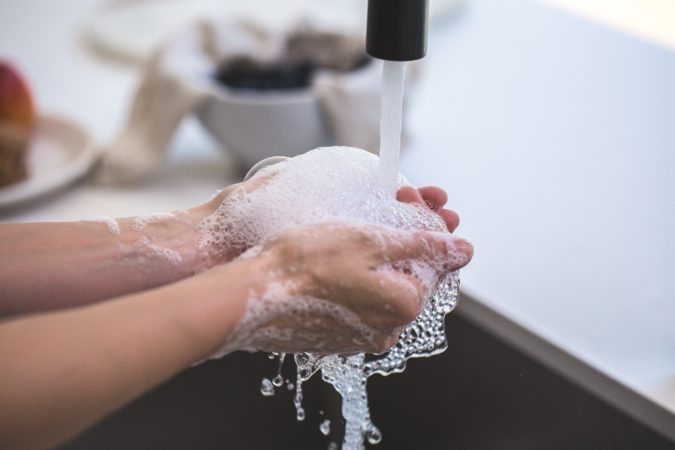
Mix the ingredients below and beat to stiff peaks then add plastic animals, utensils or bowls.
1/4 cup water
2 T dishwashing liquid or shampoo
food colouring of choice
Tip: At the end provide a bucket or sink of water they can wash everything off in.
2. Playdough – no cream of tartar needed!
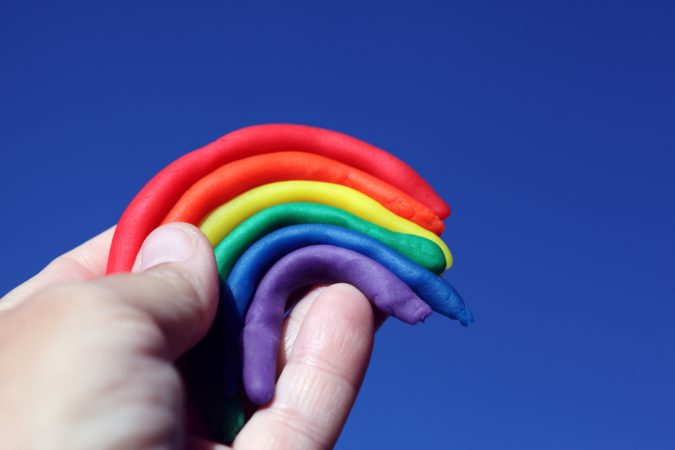
What’s cooler than having stuff to play with that can be moulded, shaped or squished any way you like?
You can make animals, faces and even fake bake with it. It’s also makes a fantastic putty to press shapes, coins and different textures into to compare results or textures.
How to make it:
1 cup flour
1/4 cup salt
3/4 cup water
3 T lemon juice
1 T oil
food colouring & scents
Tip: When you’re done for the day, put your playdough into a resealable lunch bag, squash out the air and seal. Leave in the fridge. It lasts weeks this way.
3. Weaving
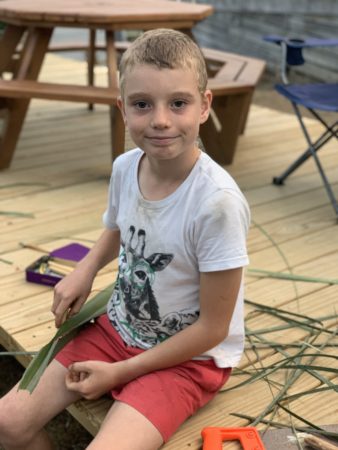
Weaving can be pretty tricky but this activity will ease everyone in to it and get the kids out in the garden looking for bits to add in.
What to do:
Cut 2cm slits in both ends of a piece of stiff cardboard opposite each other.
Wind string or wool around the card and through the slits at each end so you gets parallel string lines across your card mat. (Aim for 5 -10 lines to weave through)
Leave your string loose enough to weave items through then tie it off at the back.
Go on a garden hunt for materials to weave into your mat. (Rosemary, sticks, flowers on stalks all work well.)
Add other materials of your choice like pieces of fabric, ribbon and so on.
Punch holes in the top corners of the card and hang on display.
Tip: If outside, hang it under shelter so that rain doesn’t wreck it as quickly.
4. Slime Time
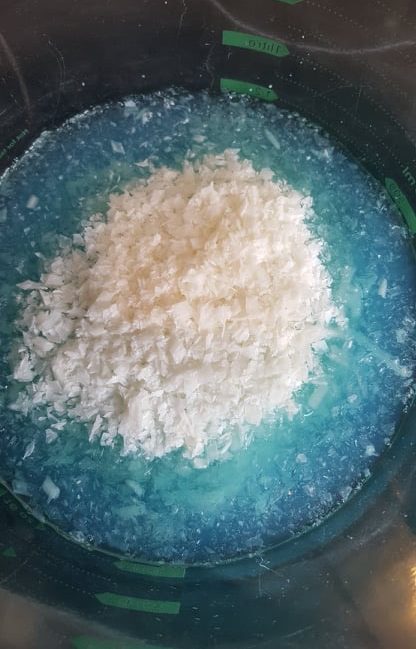
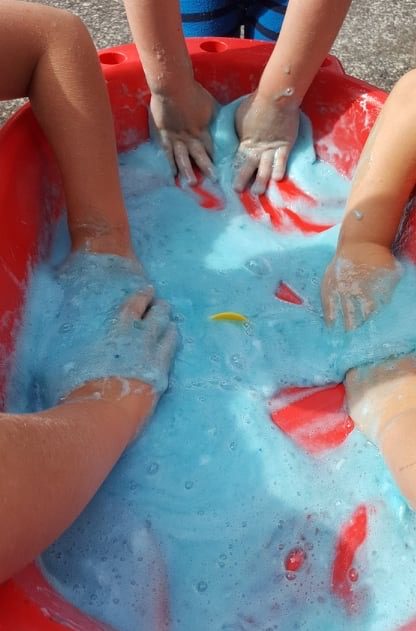
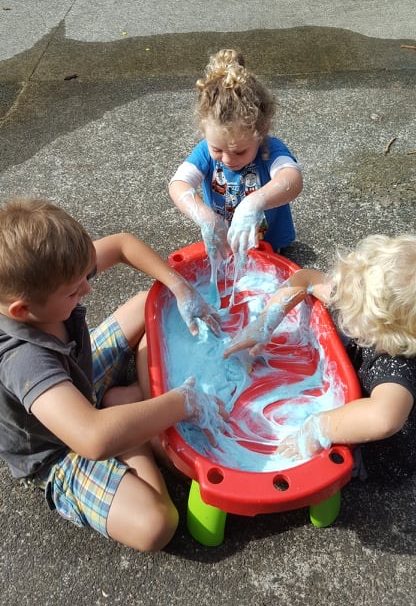
So much fun! Mix the ingredients below then whisk until smooth. WAIT till cool. For different fun throw in some pom poms or marbles to find. *Avoid getting this in eyes.
How to make it:
1 cup soap flakes or grated soap. (I use Lux flakes).
2 cups boiling water
food colouring & scents
Tip: Washes up well with warm water. You could even dilute it once you’re done and use on fruit or other garden plants to ward off bugs.
5. Home Made Paints
Mix the ingredients below. Then paint on to paper, high chair or oven trays, skin or use in the bath and shower. You can even use cookie cutters to stamp into the paint and print patterns.

How to make it:
1.5 cups flour
1.5 cups salt
2 cups warm water
variety of food colouring
food colouring & scents
Tip: Not tasty to eat!
6. Boredom Busting Jar
This is a great boredom buster. If your kids get bored they can choose to pick a stick from the jar.
The rule is that they have to do whatever’s written on their chosen stick so pick wisely parents!
You can brainstorm activity ideas together and mix in some housework tasks with other ideas so you end up with a variety of things like dusting, ball games, a Youtube tutorial, block tower challenge, vacuuming or building a BrainBox radio.
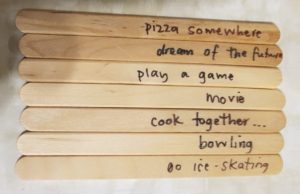
How to make it:
Ice block sticks
Sharpie marker
Write an assortment of activities on your sticks and place in a jar.
Explain it so your kids know the rules and what to do.
When they get bored around the house they pick a stick and do its activity.
Tip: Change out sticks as your kids mature so the tasks suit their capability.
7. A – Z Scavenger Hunt
Find items around the house that match each of the letters of the alphabet.
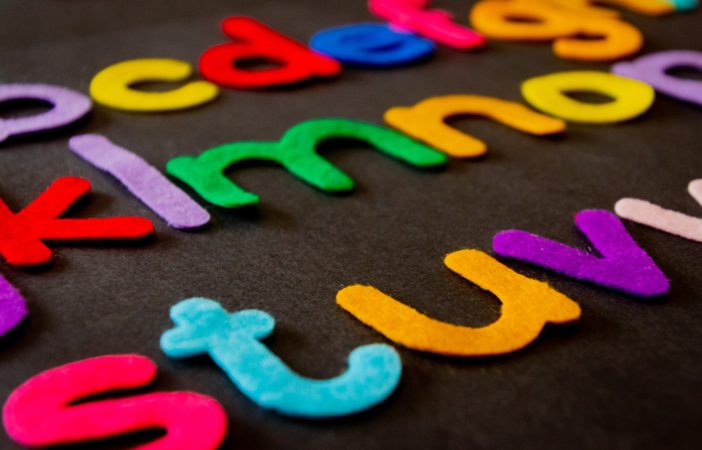
How to do it:
Use a large sheet of paper and divide it into blocks
Write a letter in each block
Hunt for an item to match each letter’s block e.g. A for apple from the fridge, B for boot and so on.
Place the items on your chart to show you’ve collected them.
*(No paper? Chalk the A-Z outside)
Tip: If you have multiple kids, you could change this up and either have them work on rows of blocks each, altogether or, each person finds an item for every letter.
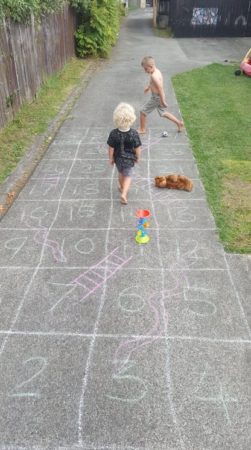
8. Snakes & Ladders Outside
Grab a few chalk sticks and get a huge snakes and ladders drawn up on on a hard surface outside.
How to do it:
Choose one colour of chalk and draw a box grid outline – Make the boxes big enough for a person to stand in.
Start at 1 and number all the boxes sequentially till you get to the end.
Now choose a new colour of chalk and draw in snakes of varied length linking two boxes.
Now choose a new colour of chalk and draw in ladders of varied length linking two boxes.
To play, roll a dice and move yourself that number of spaces.
Play on until someone wins by getting to the end.
Tip: It might be easier if each player has their own dice as players get separated in space while playing.
9. Collect & Paint Acorns
This is such a lovely activity to draw kid’s attention to natural materials. It’s a great conversation starter too for talk about squirrels, seeds, tree & groundnuts, and even acorn flour and its uses.
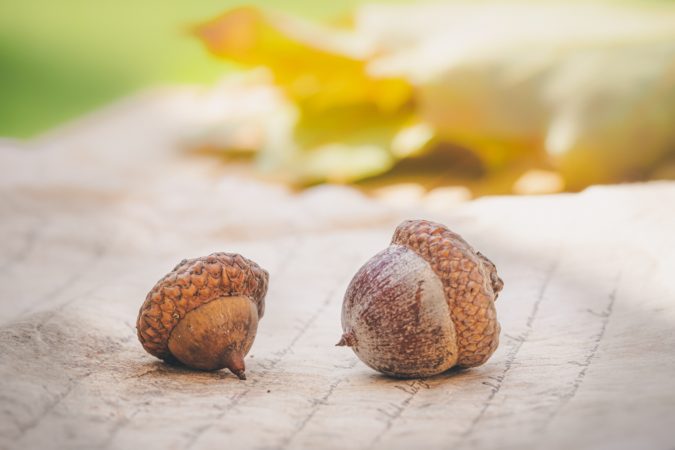
How to do it:
Collect acorns or other natural materials of your choice
Paint them with patterns
Use them for role-playing
Tip: Glue gun on strings so they can hang and be used to decorate.
10. Masking Tape Car Track
Set your kids free with a roll of masking tape – once you’ve shown them how to line up, tear and stick the tape down well on the floor to make a free form track.

How to do it:
Map out a track in a room. (Furniture can be included.)
Use your tape to mark out one side of the track then the other.
Make taped areas for parking, shops etc.
Then race or play cars around your track.
For variety, make train tracks with the tape and set up your train gear to create a fun world of trains.
Tip: Remove tape within a few days as time ages it and may leave traces of tape behind when it’s removed.
11. Make Toilet Roll Creations
Set your kids free with toilet rolls, paper, and felt pens to make a world of funky creations. You could even make a stage box so you can write and act out plays with your characters. Get a ton of ideas for characters to make here.
How to do it:
Cover in paper or paint your toilet roll to make a body.
Cut shapes from your paper to add arms, legs, or other pieces to the body.
Embellish it with sequins, glitter or stickers to finish off.
Play with or display them.
Tip: Hot glue sticks things faster than regular glue which keeps the momentum rolling in this activity.
*Supervision recommended for hot glue.
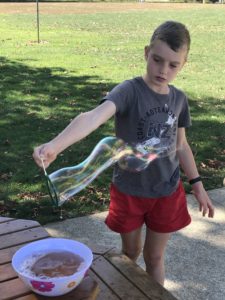
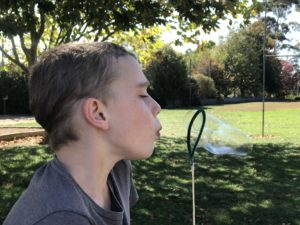
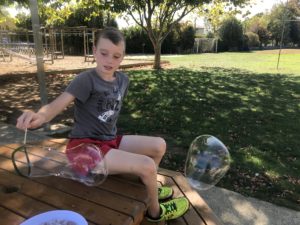
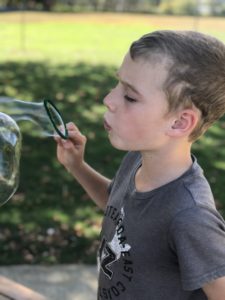
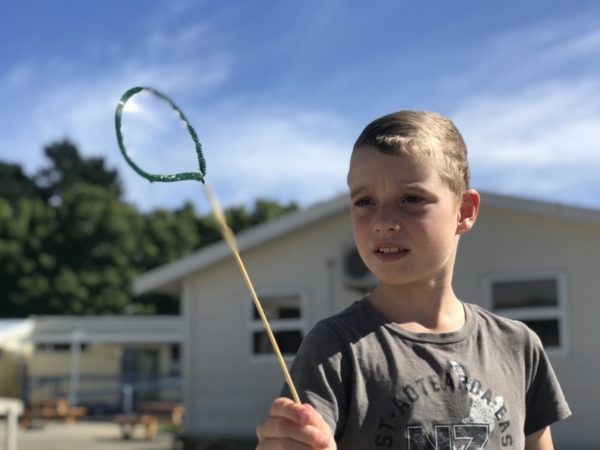
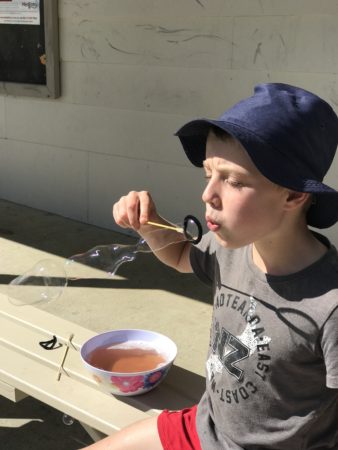
12. DIY Make & Blow Bubbles
I’m sure everyone loves bubbles. They inspire excitement, laughter and running but they often run out or get spilled with kids around.
Never again! Now you can make your own super easily with this DIY mixture using common household ingredients.
What you need:
1/2 cup sugar
1/2 cup dishwashing liquid
4 cups warm water
old bubble wands or pipe cleaners, tape and skewers to make your own
How to make the bubble mix:
Dissolve the sugar in the warm water in a large bowl.
Add the dishwashing soap and stir.
Add a drop of colouring.
Allow to cool.
How to make bubble wands:
Fashion a hoop using half or a whole pipe cleaner.
Tape it securely to a skewer stick.
Dip it into the mix and away you go blowing bubbles.
Tip: 1) This mix seems best the day after it’s made so make it and let it sit overnight for best results. 2) The whole pipe cleaner wand made bigger bubbles than our first half length ones.
13. Marshmallow Challenge
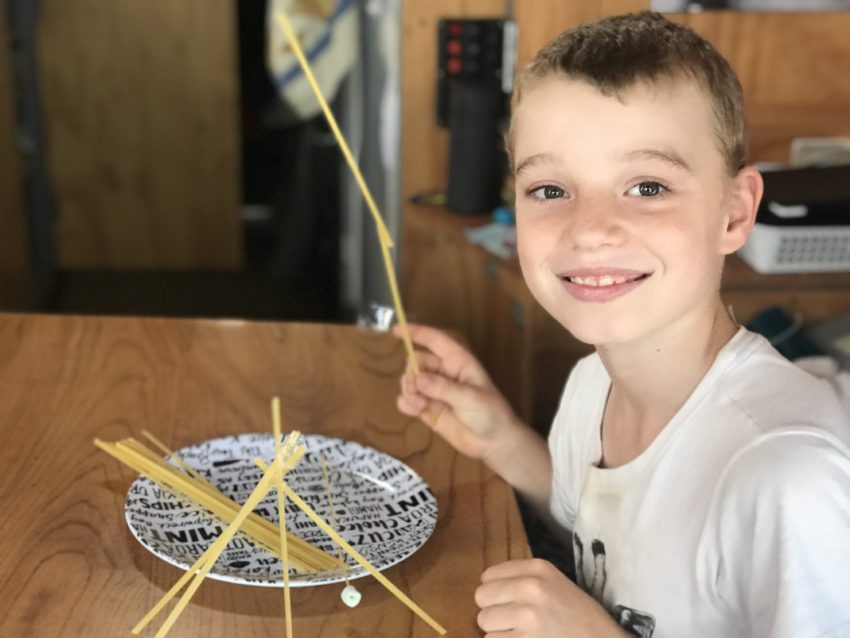
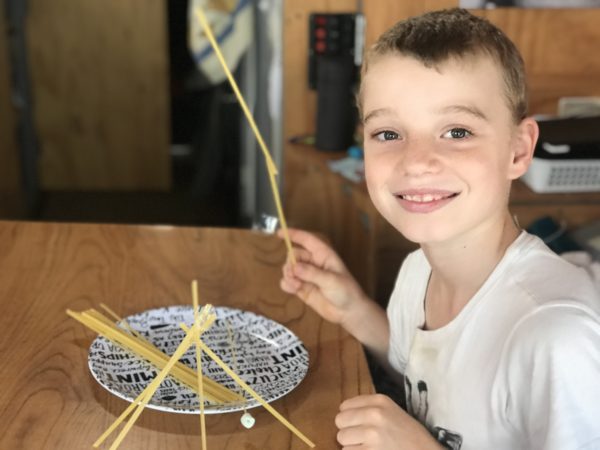
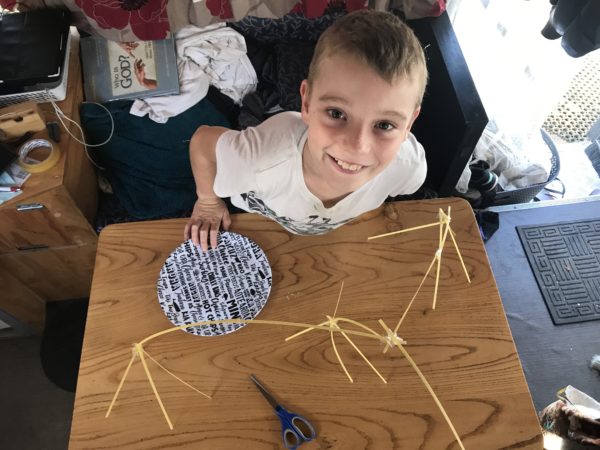
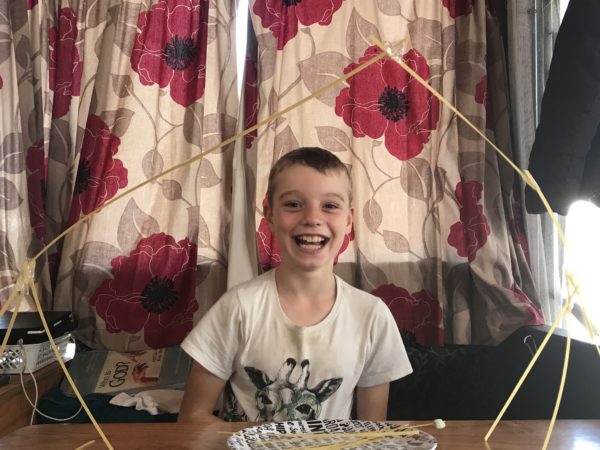
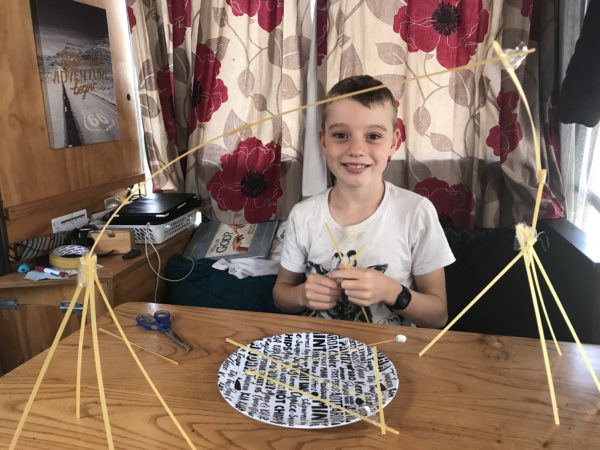
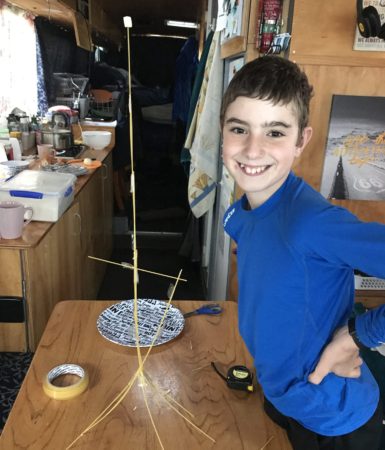
Encourage design and engineering by challenging your kids to build the tallest freestanding tower they can…with spaghetti or skewers!
Option One:
What you need:
20 sticks of spaghetti
1 metre of tape
1 metre of string
1 marshmallow
A timer
What to do:
Build the tallest freestanding tower you can that will hold up the marshmallow.
You have 18 minutes to do it.
Go!
Option Two:
What you need:
a box of toothpicks
a bag of mini marshmallows
What to do:
Build the tallest freestanding tower you can with the toothpicks using the marshmallows as joiners.
No time limit.
Highest tower wins.
Go!
Tip: Triangles are a very supportive shape.
14. Shadow Puppets
This is a great activity for kids of all ages. I’ve done this with groups of 9 year old kids who loved choosing their own characters to make and playing with torches to learn how the shadows change size when you move the puppets or light source. Great science right there.

How to do it:
Draw outlines of shapes or characters on to card. (Or you can get free or paid templates to use instead.)
Cut the shapes out.
Attach shapes to a skewer or similar with tape.
Shine a torch on your puppet so it casts a shadow behind it on to a wall or similar.
Tip: Hot glue sticks things faster than regular glue.
15. Make a Kite
This is a great activity for kids of all ages. I’ve done it with my 8 and 11 year old kids who loved researching which type of kites they wanted to make, then creating and flying their own hand made kites. They spent ages running around outside, flying and making improvements to them.
What you need to make a sled kite:
Two frame sticks. (We used thin dowels we bought from the hardware store but bamboo sticks would do nicely.)
A black rubbish bag each
A ball of string/ fishing line
Duct tape
Cellotape
Scissors
What to do:
Follow the instructions on this site to make your sled kite. (Adult help probably required in places for under 13s.)
Tip: Reinforce all the corners where you attach sticks or strings with duct tape to prevent holes from developing as easily.
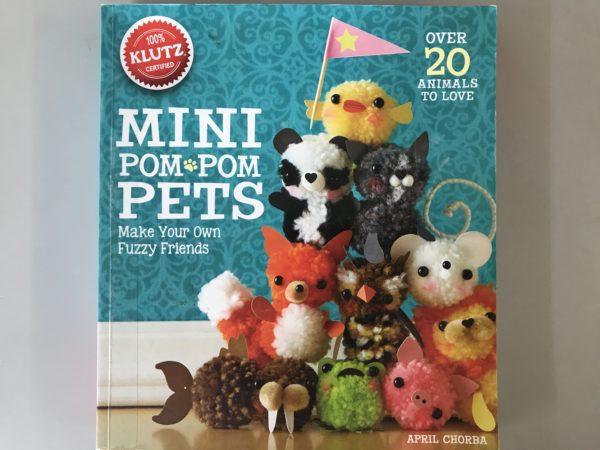
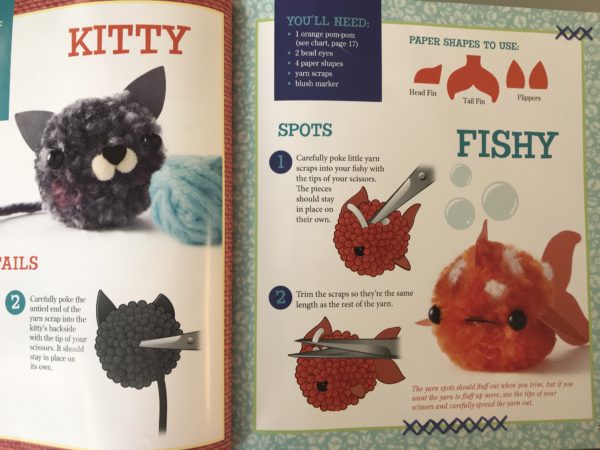
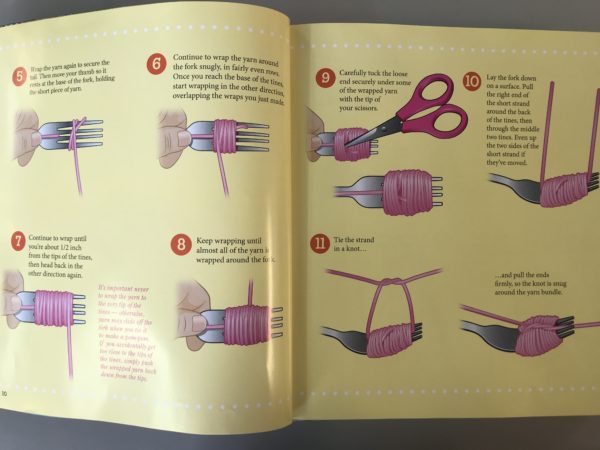
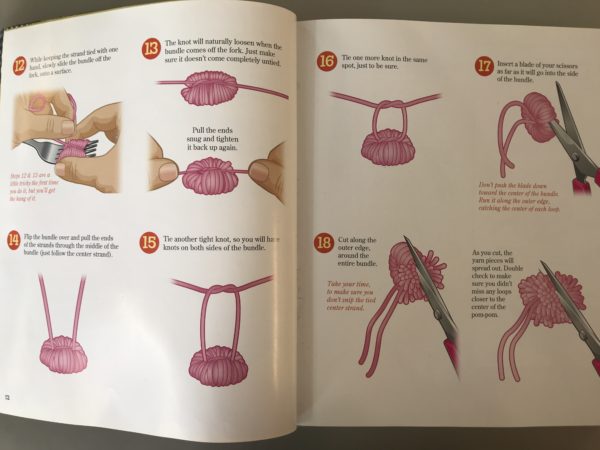
16. Make Mini Pom Pom Animals
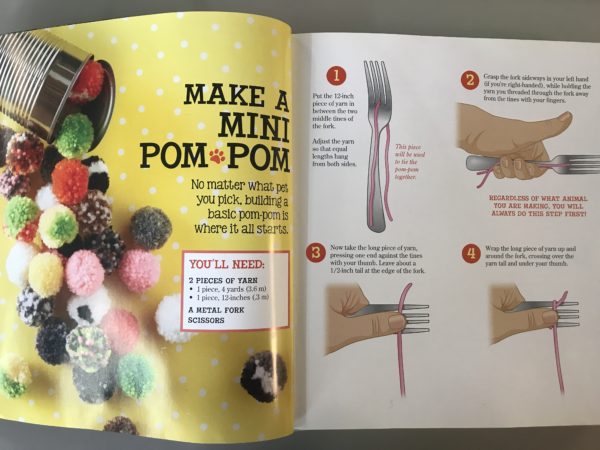
These are so cute and don’t require much help except in tying them off well so they don’t fall apart when you remove the yarn from the fork.
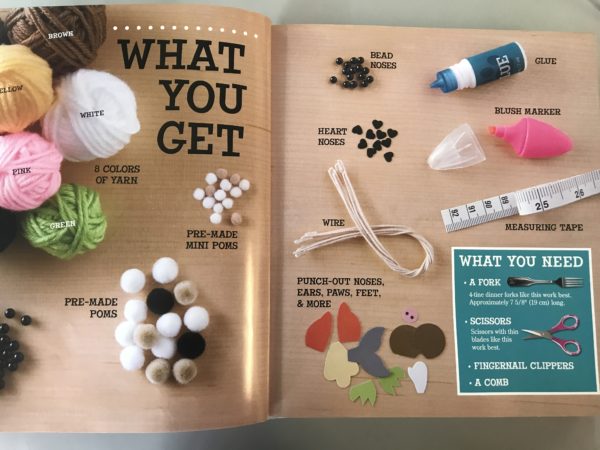
We used a kit that had all the bits in it but you could just buy or make the ‘ingredients’ yourself as they’re pretty easy to get items if you look at the images below.
What you need:
Wool
A fork
Googly eyes
Card to make ears and feet
Glue gun
Scissors
What to do:
Place a 20 cm piece of wool through the middle tine of your fork and let it hang down.
With a longer section of wool, wrap around the fork several times until it’s quite round.
Take the 20 cm piece’s end and wrap them tightly around the centre of the wad and tie them off.
Use scissors to cut the wadded wool on the fork’s edge.
Fluff out your pom pom and trim to neaten.
Glue on beads, eyes, and ears to finish them.
Tip: Glue guns work well and quickly for this otherwise bits fall off waiting for craft glue to dry.
17. Nail Art
Head here if you’re after a bucket load of DIY nail art ideas to do at home.
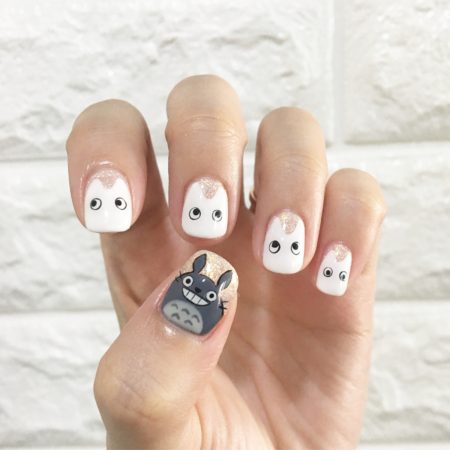
Tip: Use cotton buds and polish remover to clean off any paint on your skin around your nails afterward.
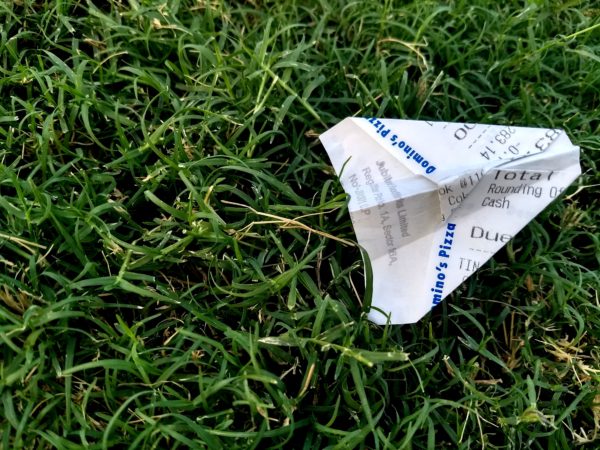
18. Flight School
Make a paper plane and score points by flying it at a target or through a hoop.
What you need:
Paper to fold a range of planes.
Card to make a target with.
What to do:
Make a range of different paper planes using Youtube clips.
Cut various sized holes in the piece of card and give each hole a score value. (Make bigger holes worth fewer points.)
Set your target up.
Aim your planes and try score points by flying it through a hole.
Tip: Make a variety of planes to see which flies best. This video will show you how to fold 5 great paper planes.
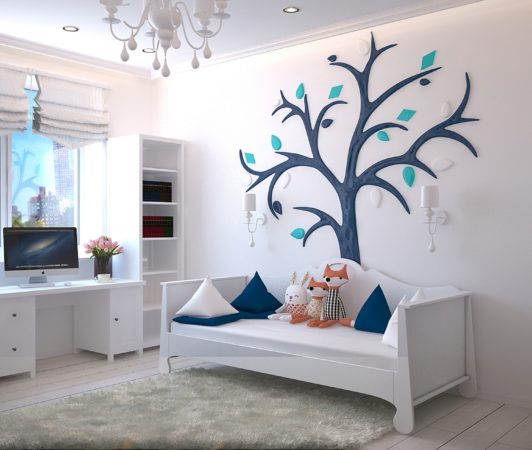
19. Design A Dream Room
Oh this can take hours! Happy hours you could put to great use doing your work or jobs elsewhere or just getting some much needed rest.
What to do:
Head over to Plan Your Room or Living Spaces and get creating.
Drag the symbols of furniture from the left side on to your floor plan to create your dream room design.
Tip: You can save or print your designs on planyourroom.com
20. Felt & Elastic Bookmarks
These are very cute and will help you keep your place in a book or even double as a headband. (Work best on hardcover or chapter books.)
What to do:
Make little felt characters of your choice like ladybirds, butterflies, flowers, cars etc.
Glue them to a length of elastic long enough to fit around the pages of the book – top to bottom.
For some step by step instructions check out Cutesy Crafts.
Tip: You can save or print your designs.
21. DIY Tie Dye
Tie dye seems to be trending again and it’s really easy to do. I’d say this activity suits older kids who can hopefully manage dye without disaster.
Here’s a step by step tutorial plus a range of patterns you can make on tie dye t-shirts.
*(Methods vary so follow the instructions of the dye product you buy.)

What you need:
A light coloured cotton t-shirt or other item
Rubber bands
Dyes
Bucket or large bowl
*The Warehouse NZ or Amazon have a range of kits you can buy which lay out the instructions and give you what you need.
What to do:
Immerse the shirt in hot water, wring out the excess water, then lay it flat.
Tie it tightly with rubber bands in a pattern of your choice.
Mix dye in a bucket.
Soak your rubber-banded t-shirt in the dye for 30mins – 1 hour.
Remove it from the bucket.
Run it under water until it runs clear.
Then remove bands and add to washing machine.
Tip: Use rubber gloves to prevent your hands being dyed.
Shop related items to make your life easier and more full of fun now
*These are affiliate links to Amazon. If you click to buy an item we make a small commission at no charge to you. Thanks!
Tie Dye Kit |
|
Weaving Kit |
|
|
|
Chalk |
|
Paints |
Pom Pom Kit |
|
Glue Gun |
|
I hope that this list of 21 fun activity ideas is some inspiration to you and provides creative ways for your kids to make and do so you can get some time to yourself and maybe fit in a job or two.
Please pin one of the images below. Thanks!

Meagan

