Task cards have become popular tools in various educational and professional settings. They are versatile, engaging, and effective for teaching, training, or assessing knowledge.
In this blog post, we will explore what a task card is and walk you through the process of using PowerPoint to make task cards.
Using PowerPoint To Make Task Cards
What is a task card?
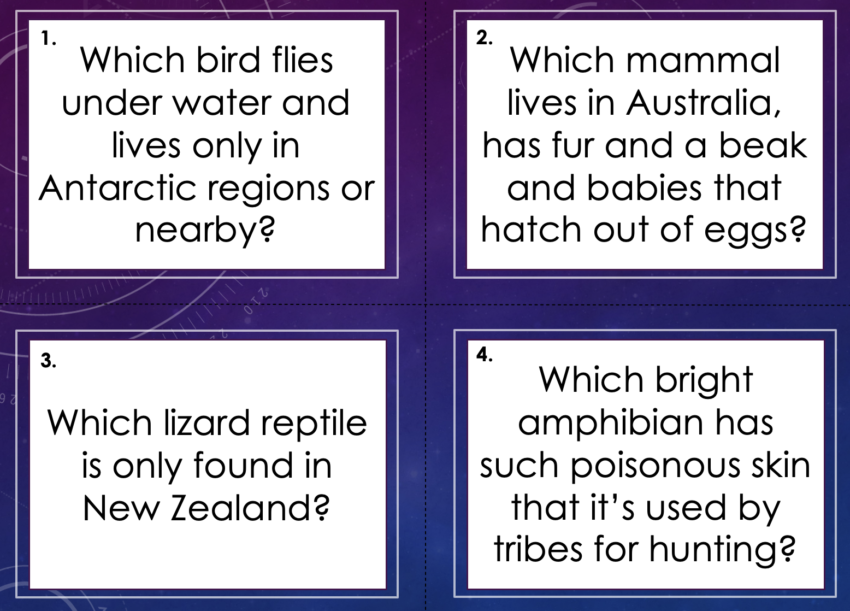
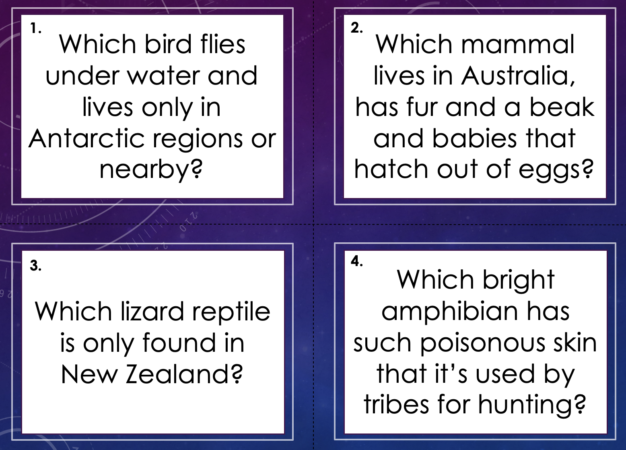
A task card is a small, self-contained unit of instruction or assessment that presents a specific task or question on a card. It typically includes a prompt or question on the front and additional information or instructions on the back. Many are created as templates with four cards to a page.
Task cards are commonly used in classrooms, training sessions, workshops, and online courses to facilitate learning, reinforce concepts, promote critical thinking, or evaluate comprehension.
Since they are so widely used, they are in popular demand as resources so making them using PowerPoint and selling them is one way to make some extra cash online.
Creating a Task Card using PowerPoint:
Step 1: Launch PowerPoint
Open Microsoft PowerPoint on your computer and create a new blank presentation.
Step 2: Set the Slide Size
Go to the “Design” tab and click on “Slide Size.” Choose the desired dimensions for your task cards.
A standard task card size is usually 3.5 inches by 5 inches, but you can adjust it to suit your needs.
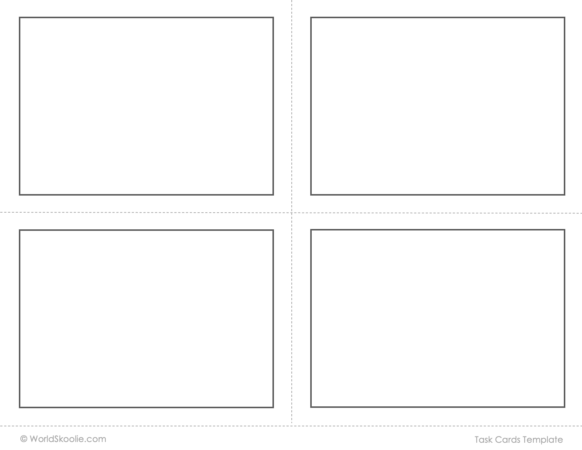
Step 3: Design the Front of the Task Card
Make cards that are popular by content. To find out which ones are, do a search online and see what comes up first. Otherwise, make what would be helpful to you and others will likely find them beneficial too.
Step 4: Choose a Background
Click on the “Design” tab and select a suitable background for your task card. Consider using a plain colour, gradient, or relevant image that aligns with the theme or topic. Backgrounds shouldn’t overwhelm the card.
You might like to create a colour and B&W version as the latter is cheaper on printing and looks crisper than printing in greyscale so desirable.

Step 5: Add Text
Click on the “Insert” tab and select “Shapes”. Add a (white) rectangular shape inside each of your task card boxes.
Next, insert a “Text box” on top of the shape in each box and in each, type the prompt or question for the task card.
Adjust the font, size, and alignment as needed. Choose an easy to read font style especially if the resource will be used by children.
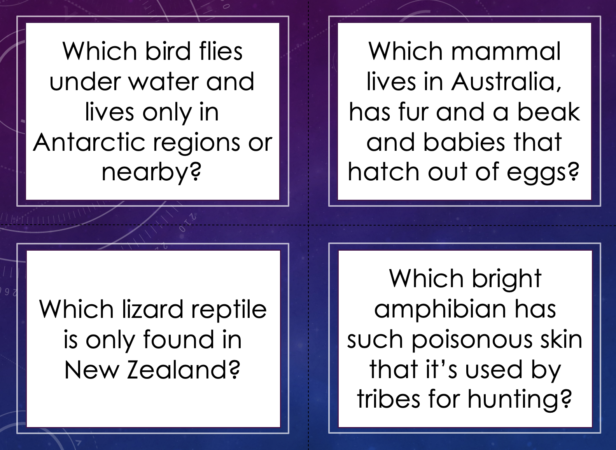
Step 6: Add Graphics if Desired
To make your task card visually appealing, you can add relevant images, borders, icons, or illustrations.
Use the “Insert” tab and select “Pictures” or “Icons” to import the desired visuals. Resize and position them as you wish. Don’t let them obscure any of the text or distract users from the text content.
Step 7: Design the Back of the Task Card
Create another slide by clicking on the “New Slide” button or duplicating the previous slide (time saving).
Step 8: Add Text and Instructions
If the back of the card is just white, insert a text box and provide additional information, instructions, or solutions related to the task or question on the front. You can also include step-by-step instructions or hints to assist the learner.
Modify the font, size, and alignment of the text to ensure readability. Use bullet points or numbering for clear instructions.
Alternatively, you could not create card backs but instead put instructions for teachers and kids on to separate task cards that feature at the beginning of the set.
Step 9: Customise the Task Card’s Appearance
Enhance the visual appeal of your task card by using design elements such as borders, shapes, gradients or colour overlays. Experiment with different styles to make your cards stand out.
Ensure that your task card is accessible to all users by using appropriate colour contrast and providing alternative text for images or icons.
Step 10: Add Multiple Task Cards (Optional)
If you intend to create multiple task cards within the same PowerPoint presentation, you can duplicate the slides and modify the content accordingly. This approach saves time and maintains consistency throughout.
Hint: Number your task cards if you make multiples in a set to help with organisation.
Step 11: Save and Export
Once you’re satisfied with your task cards, save your PowerPoint presentation to your preferred location on your computer.
Step 12: Print the Task Cards
Connect your computer to a printer and select the desired printer settings, such as paper size and orientation. Print a test copy to ensure the formatting is accurate.
Step 13: Cut and Distribute
After printing, carefully cut out each task card along the provided outline. You can laminate the cards for added durability if desired.
If you’ve made backs, ensure that the front and back are aligned correctly.
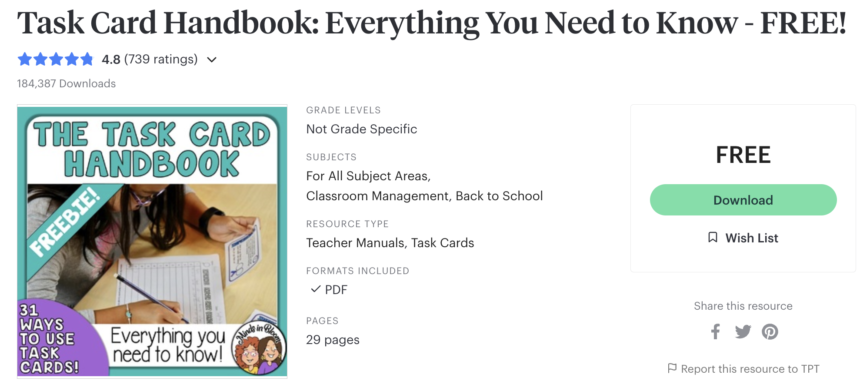
If you’re keen to learn more about task cards and their uses, TPT has several authors who provide their information to others, often for free!
Check out the link to the amazing author and resource below. She provides lots of ideas for how to layout and use task cards.
Creating task cards using PowerPoint is a straightforward and efficient way to enhance learning experiences and assessments or even make some money for yourself online.
By following these step-by-step instructions, you can design visually appealing and engaging task cards tailored to your specific needs.
Whether you’re an educator, trainer, or simply looking for interactive learning tools, task cards offer a versatile approach to promote active learning and knowledge retention. They can be printed or used on screens remotely.
Experiment with different designs, explore creative formats, and unleash the full potential of task cards in your teaching, training or resource making endeavours.
Please pin this post to share.
Thanks!

Meagan

